How I dry Rudbeckia flowers
Last year I tried drying some golden-yellow flowers of Rudbeckia hirta ‘Goldilocks’ (also known as black-eyed-susan daisies) and was so pleased with the results that this year I grew them almost exclusively for drying. Like any other dried flower, Rudbeckia are delicate once dried, but I find that if they’re handled carefully, most of the petals stay attached (a few might drop off, but it’s barely noticeable on the double varieties).
I pick Rudbeckia flowers for drying before they’re fully mature which gives them a better chance of holding on to petals once they’re dry. To determine how old the flowers are, look at the brown central part - you’ll see a row of tiny yellow florets encircling the brown centre (they look like little golden dots - you can see them in the photos of the fresh flowers further down the page). The florets at the outer edge open first, and their blooming progresses toward the centre of the brown area. The further toward the centre that these florets are open, the older the flower. You can also see a difference in the texture of the brown area between the area where the florets opened and where they’re still closed. I harvest Rudbeckia at any point before every single one of the tiny florets have opened.
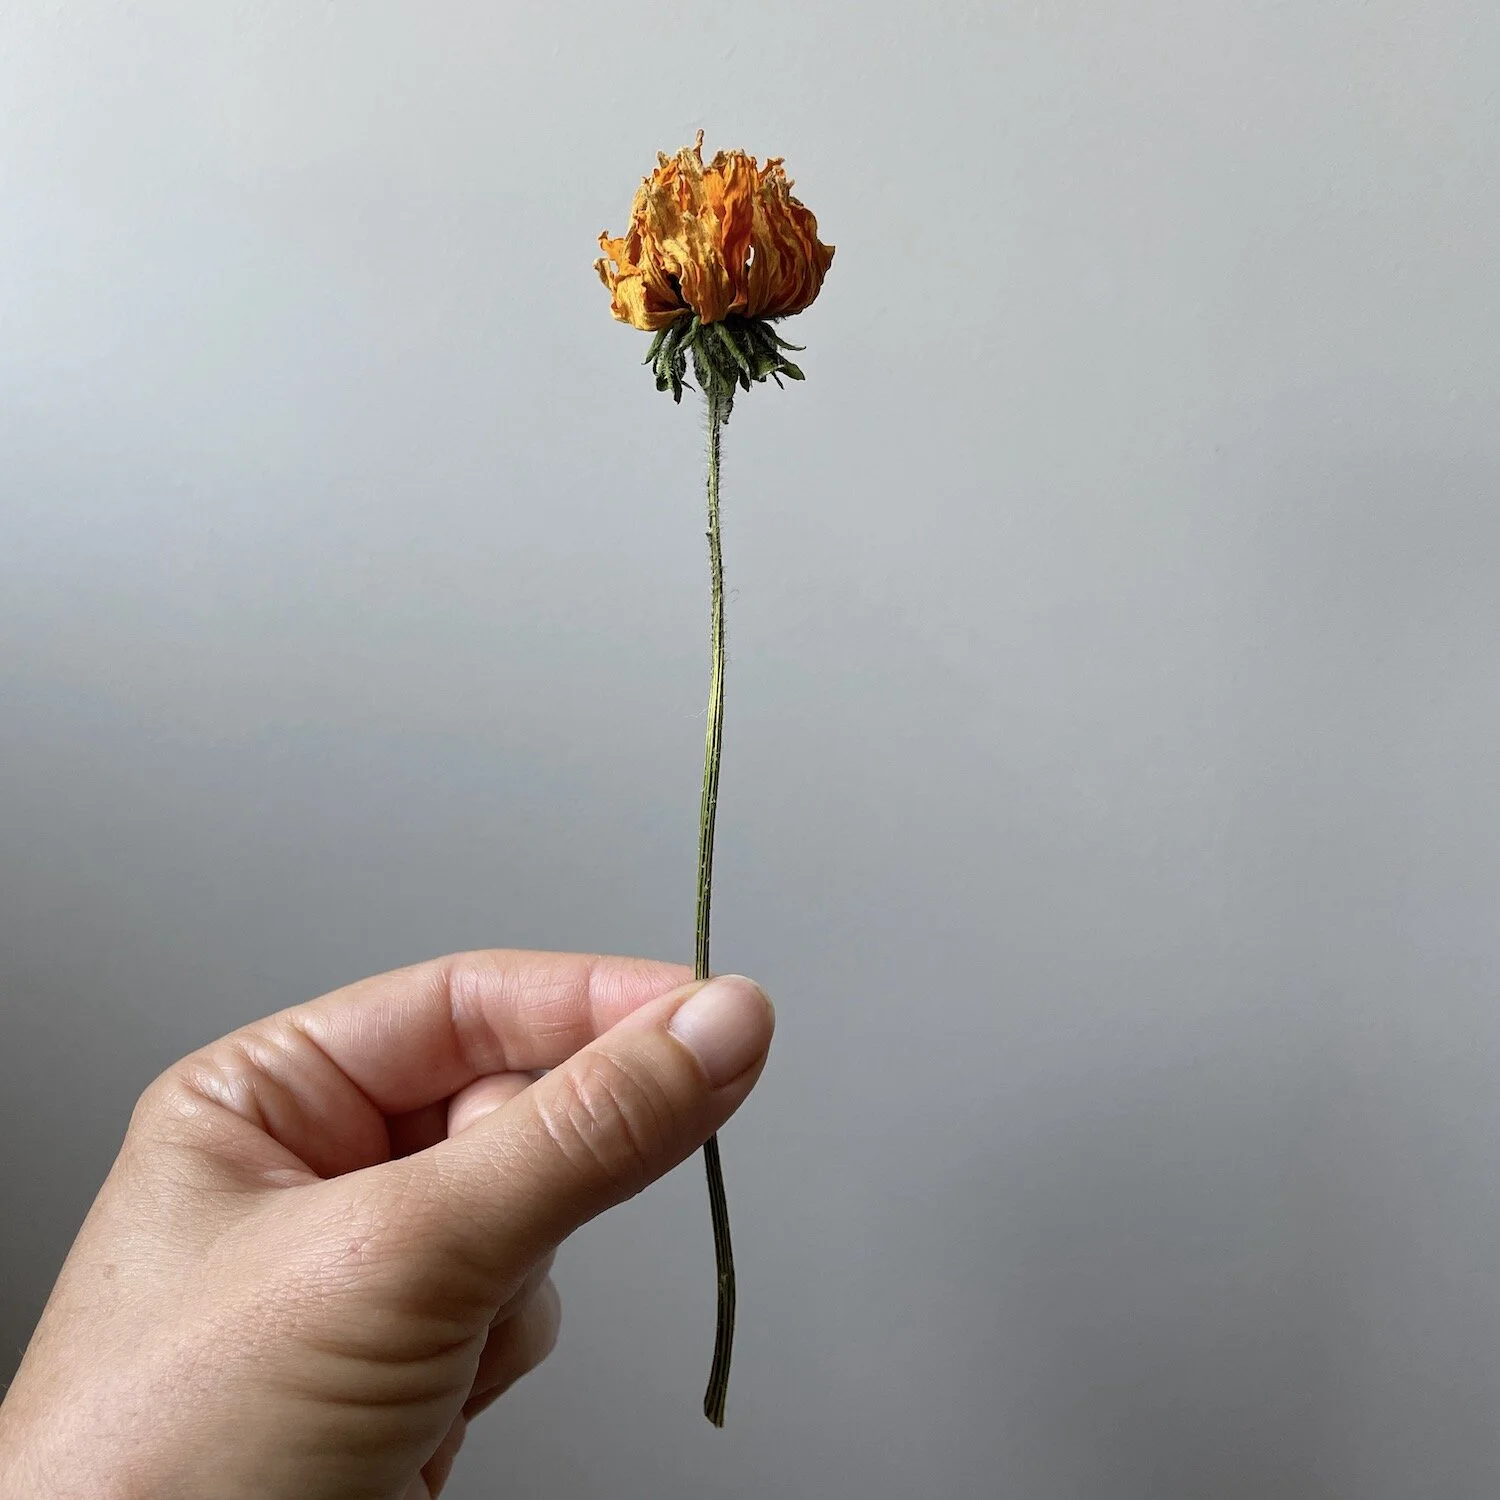
After I pick my Rudbeckia, I strip the leaves from the stems and then set them up to dry. How I want them to look determines the method I use for drying. I can hang them upside-down in my drying room (where there’s good air circulation and no direct sunlight) which results in a closed, ball-shaped flower because gravity pulls the wilted petals downward, around the centre disc as they dry (as in the photos below).

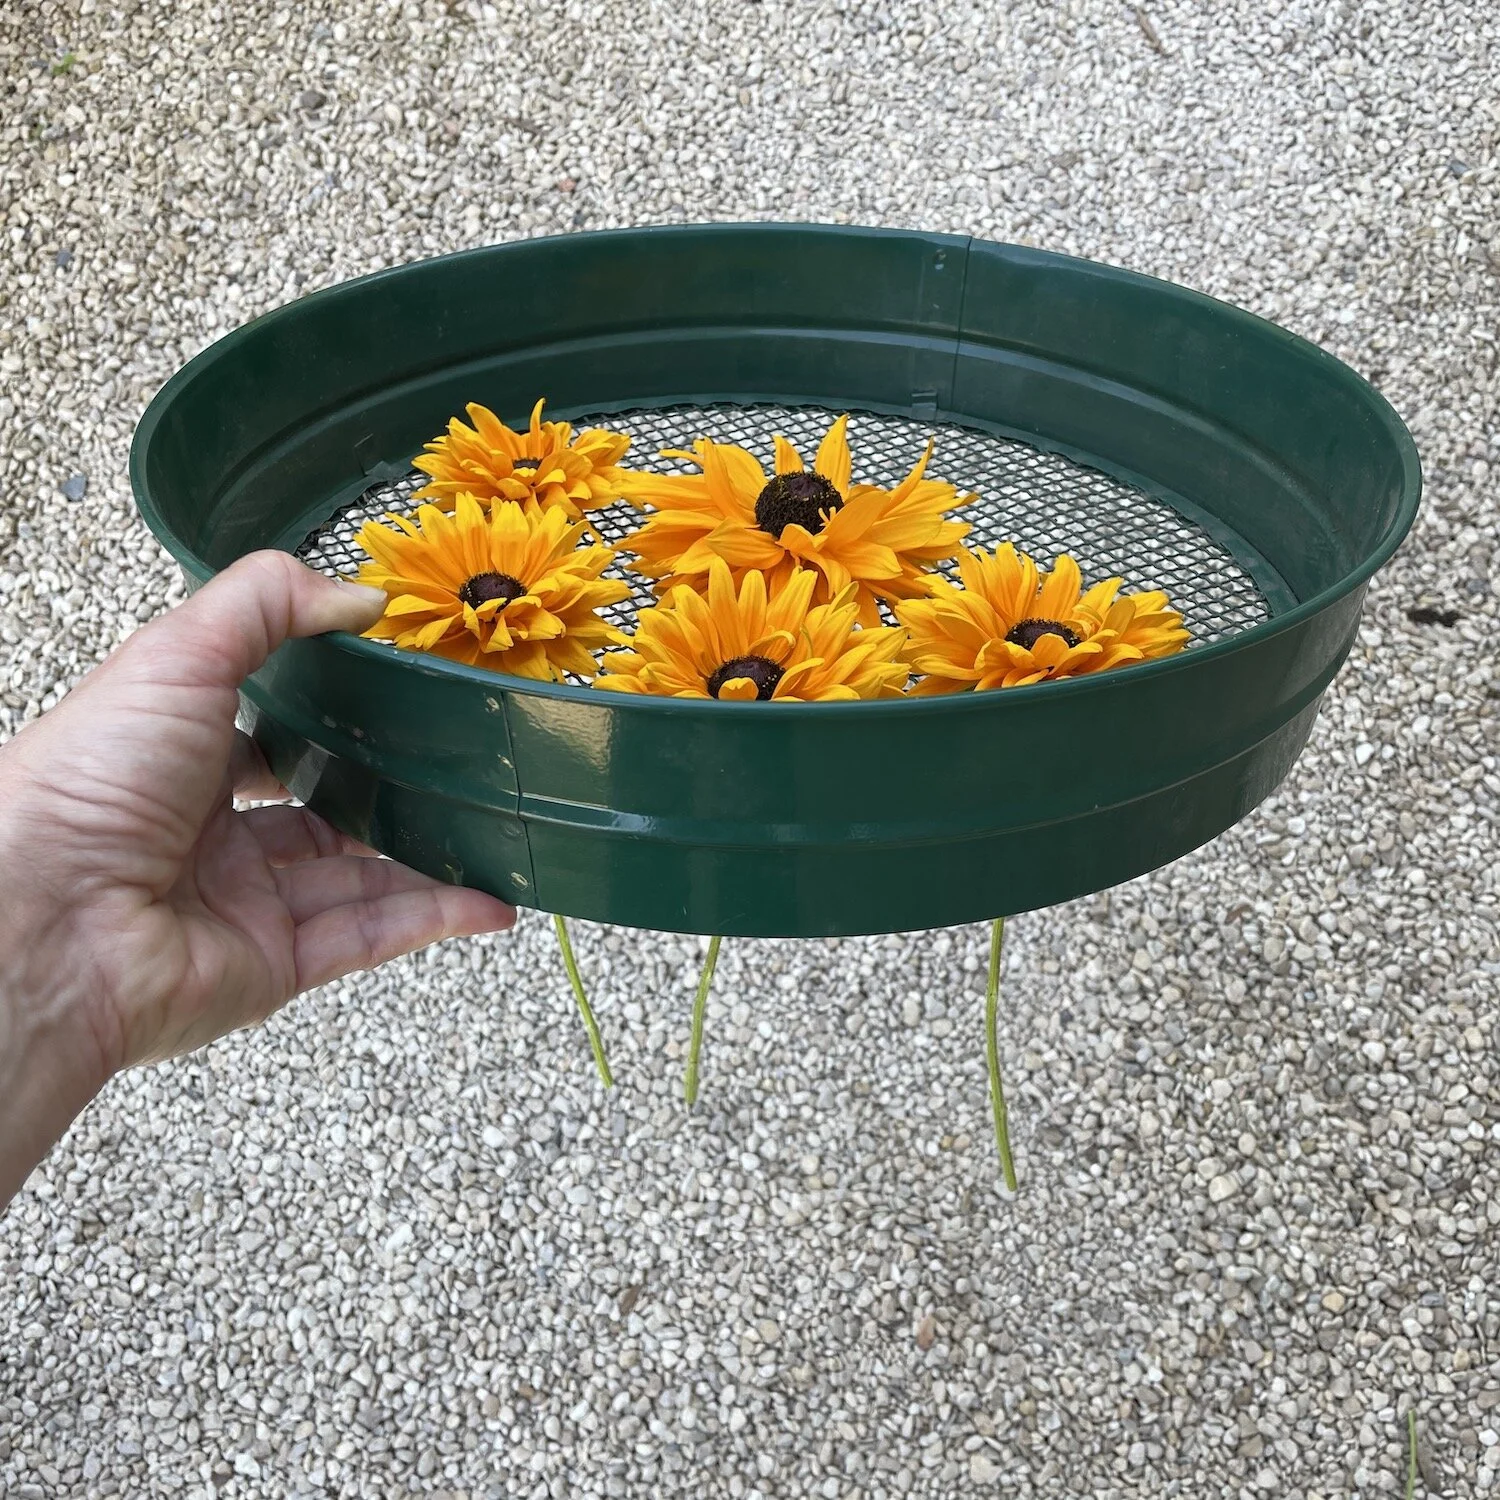
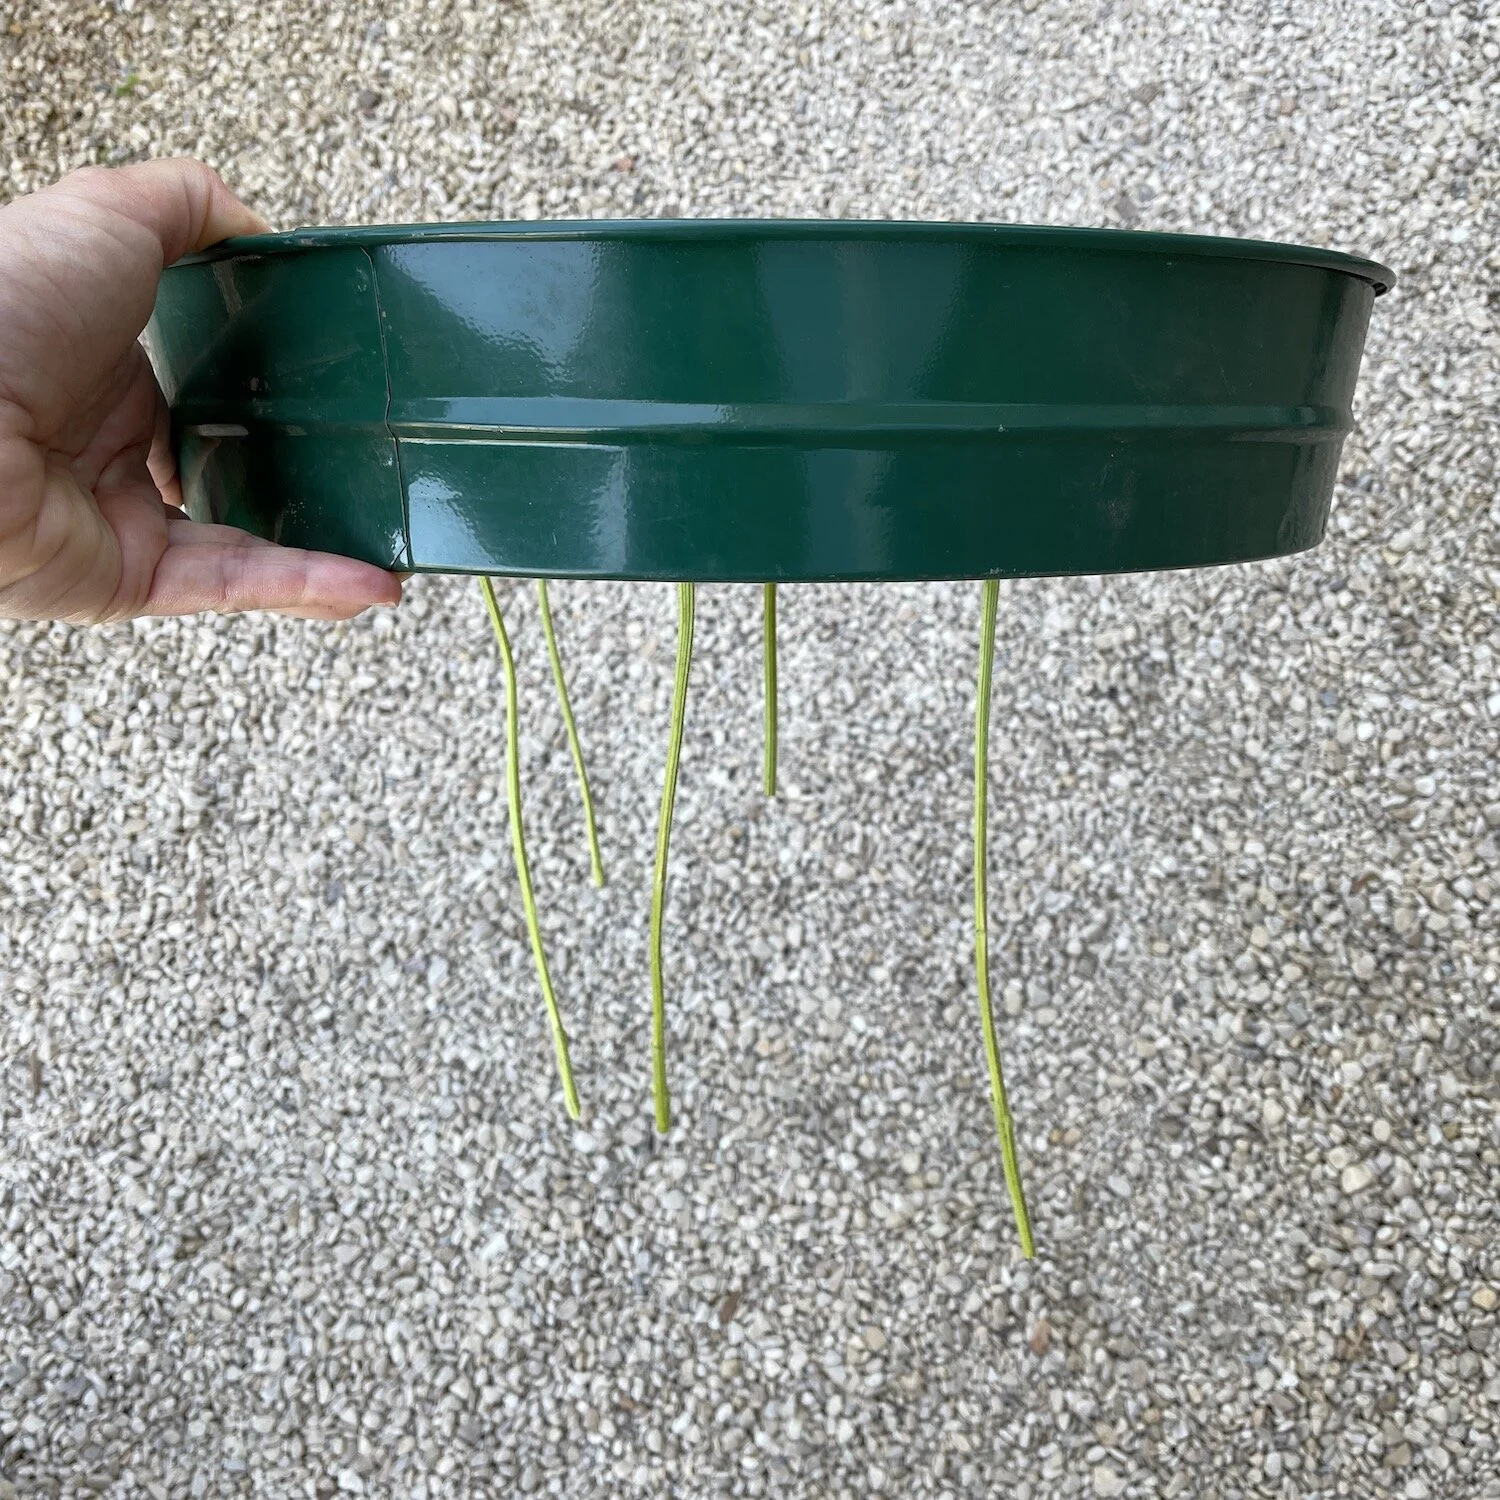
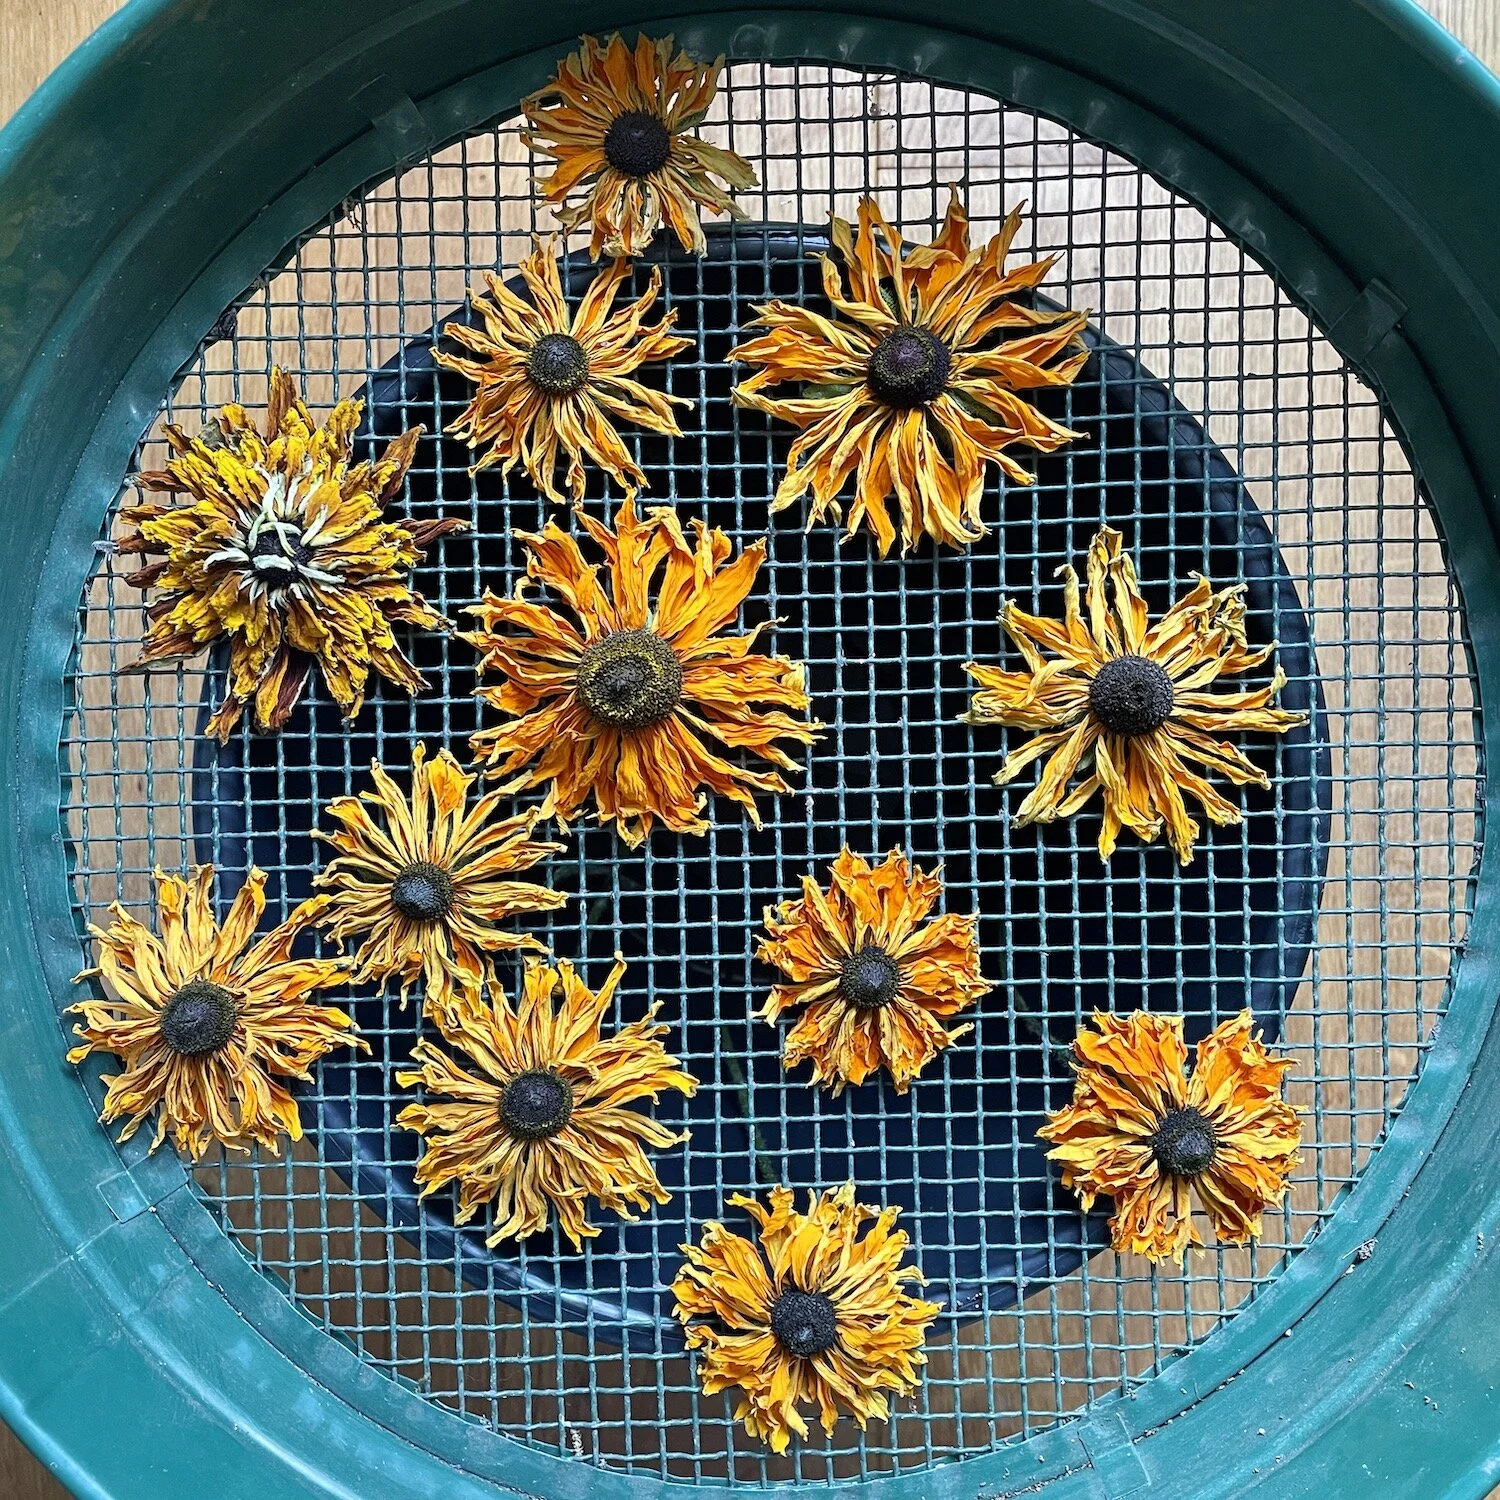
But I prefer the flowers to be open which means I need to dry them face-up and support the petals as they dry. For this I use either small-squared chicken wire or one of my garden sieves, passing the stems through the grid so that the flowers rest on the wire. I leave the wire or sieve on top of a bucket or box until the flowers are completely dry, making sure I disturb the flowers as little as possible during drying. This method also works well for large zinnias.


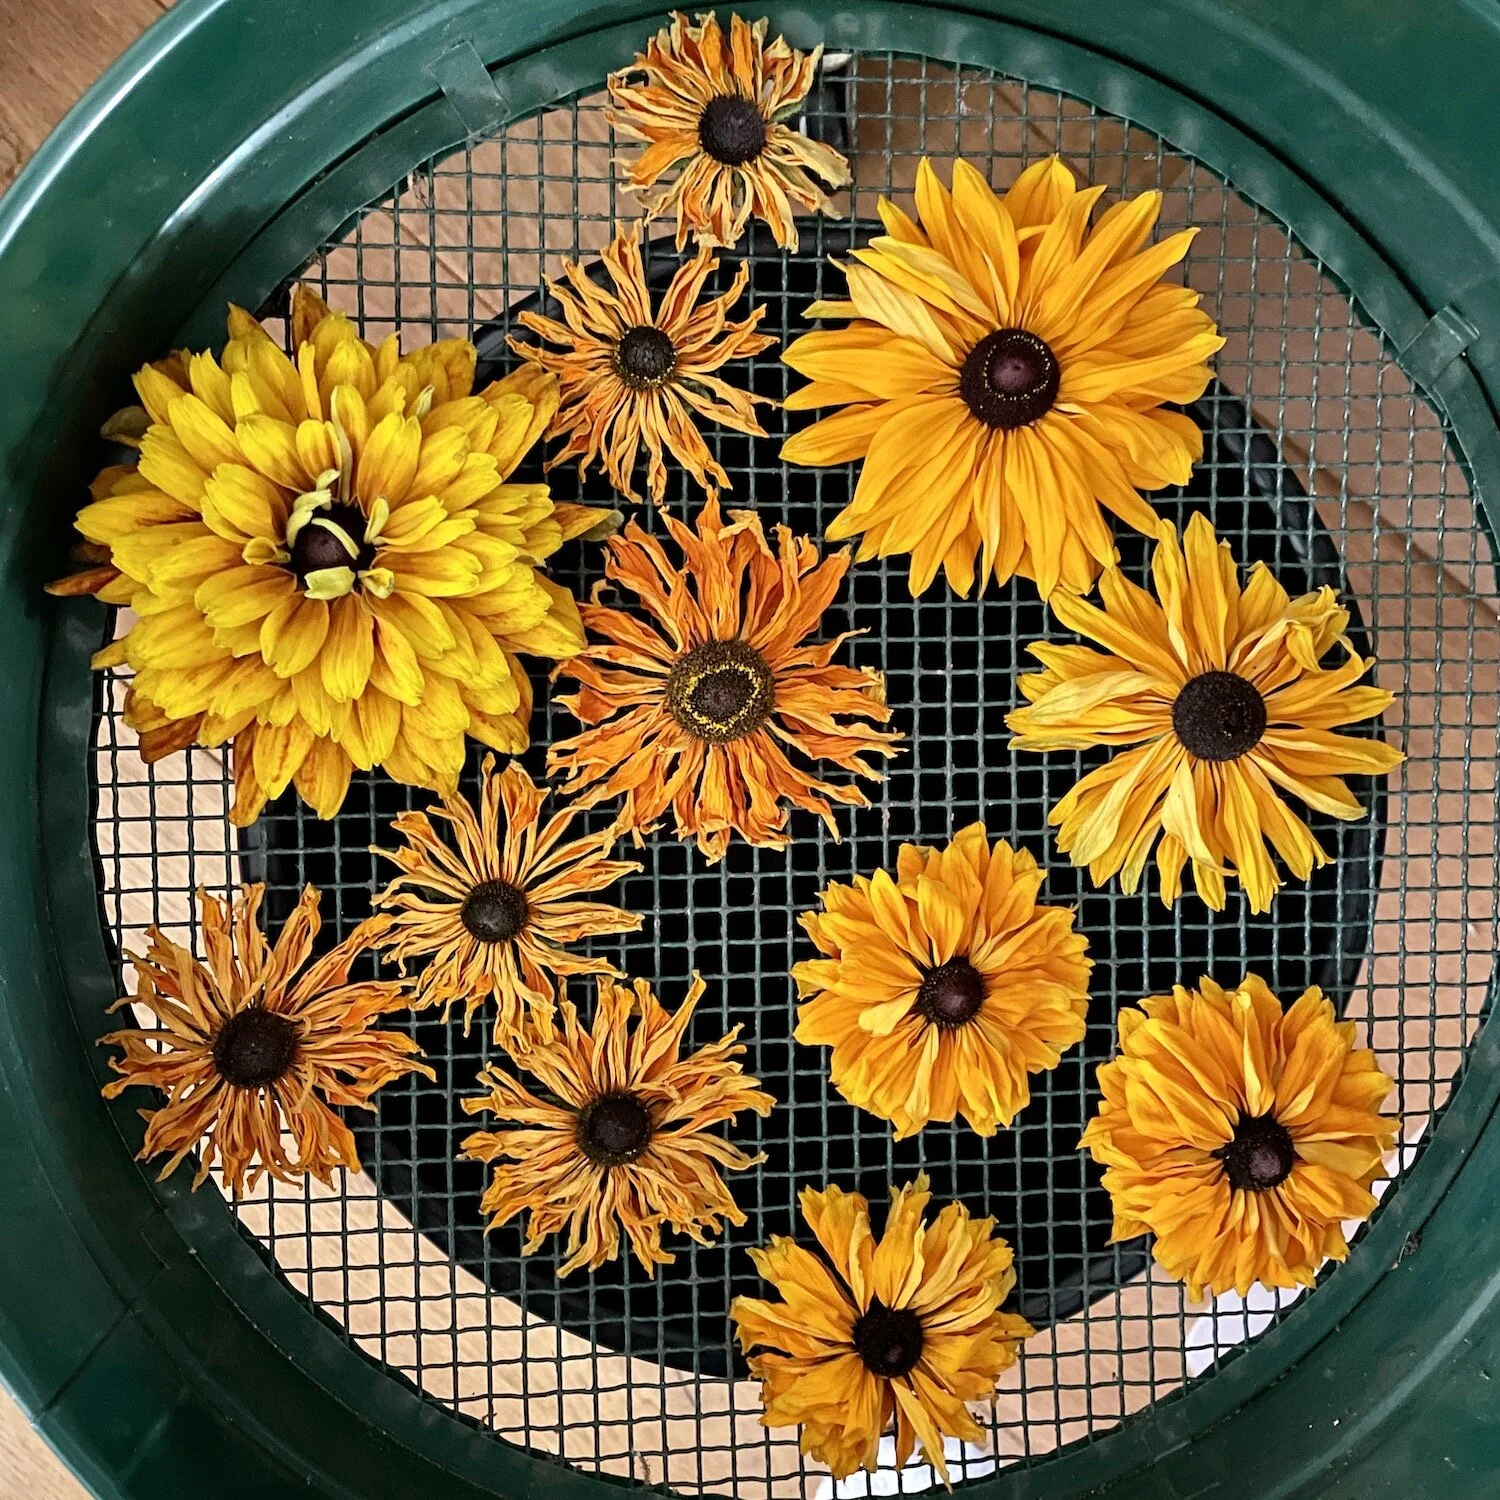
Below are two photos of Rudbeckia blooms drying - you can see how much they shrink. To tell if they’re completely dry, I gently feel the stems and the petals - if they feel cold to the touch, or if the stems or petals seem soft or very flexible, I leave them to dry for longer. Once I’m sure they’re completely dry, I store them loosely in a box to prevent damage until I use them.
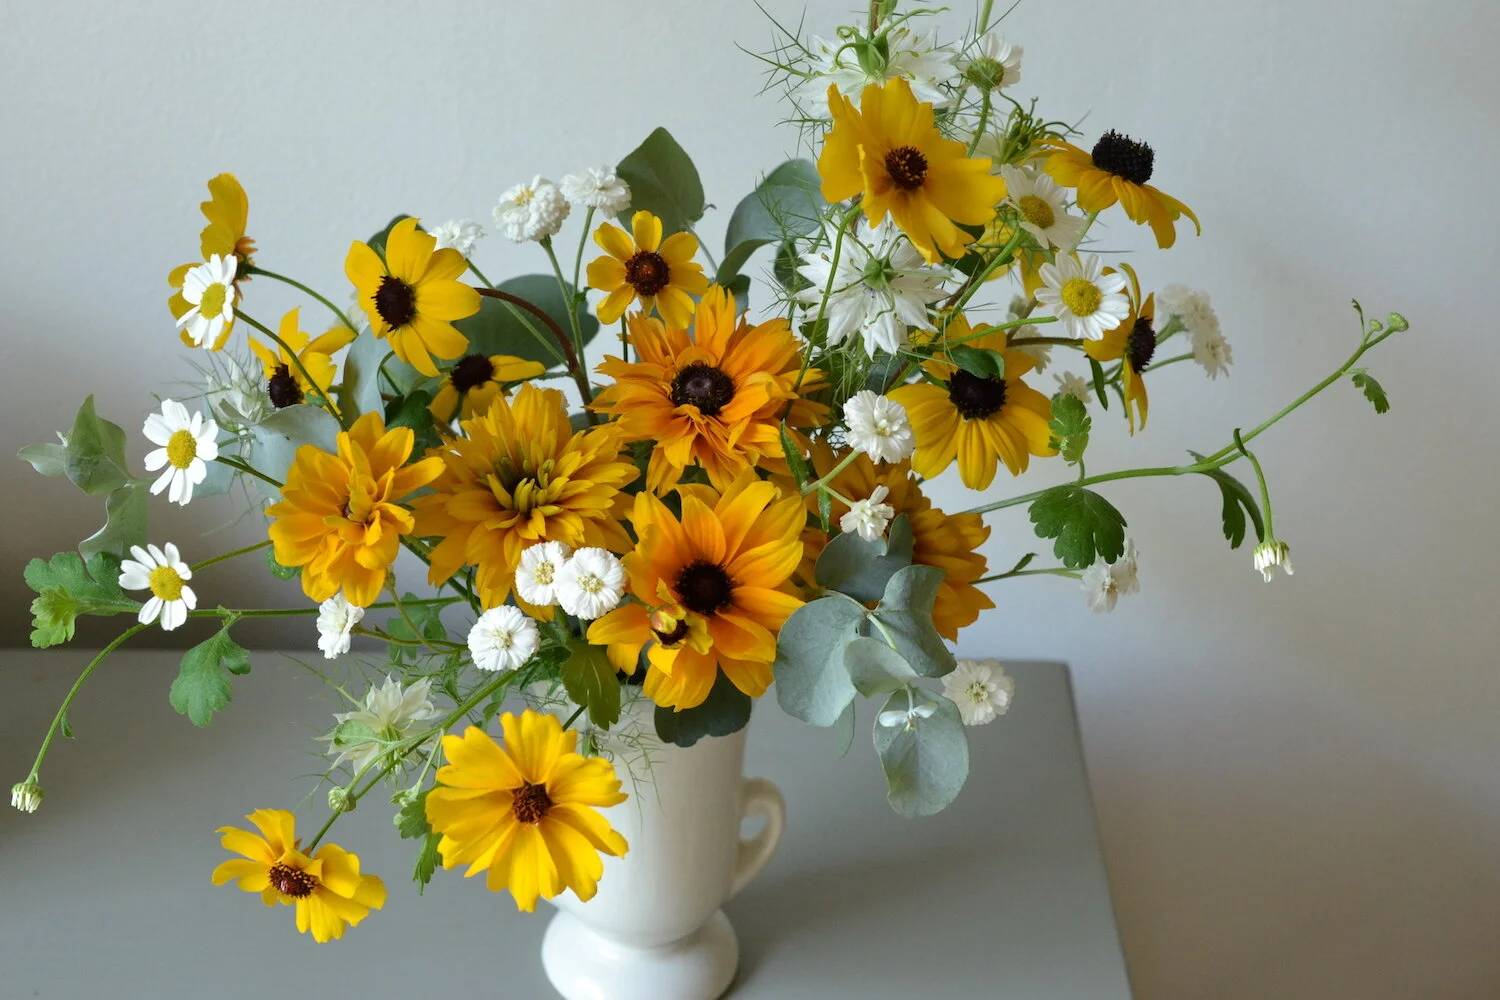
If the flower stems are sturdy enough, you can also dry them upright so that the petals droop and dry in a pleasing way. Just stand them in a water-free container (like a tall jar) until dry. That’s how I dried the Rudbeckia in the bouquet below (left).
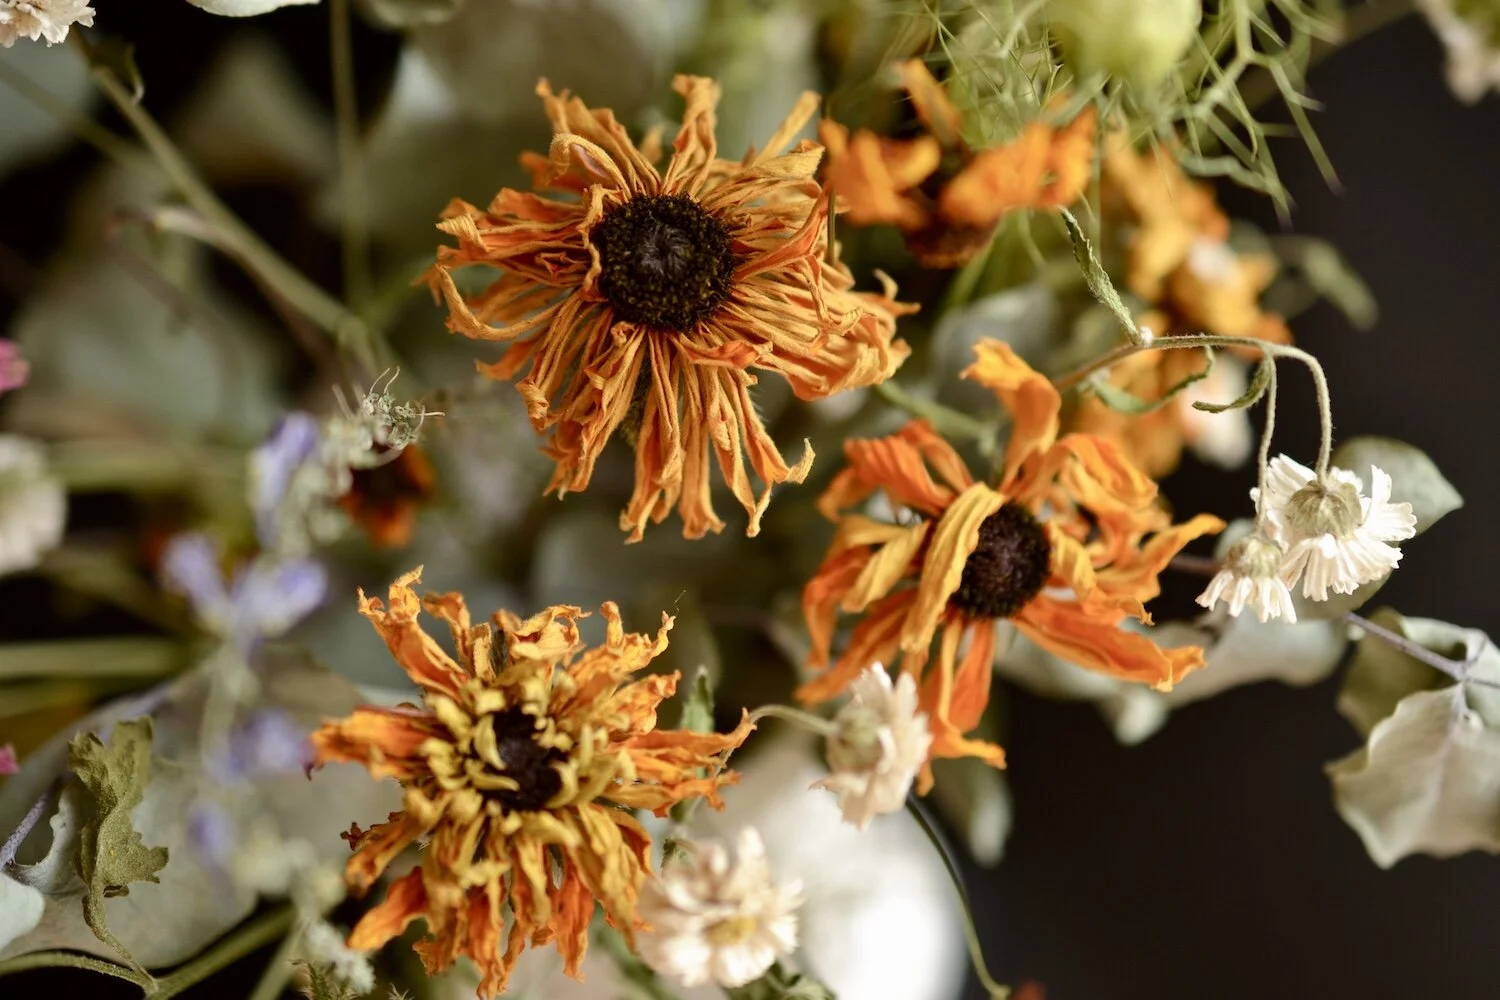
One more way to dry Rudbeckia face-up is the so-called ‘evaporation method’. Place stems in a jar with just a little water and leave until the water has all evaporated or been taken up by the stems. The flowers should gradually dry with open flower faces, and the petals will droop downwards a bit. I find this works best if the flower heads have some support of other flowers or foliage around them - in other words, make a little bouquet and leave it in the vase to dry. Keep an eye on the water and change it if it starts to look really murky or you see mould starting to grow. Below centre is a little arrangement I left to dry using this method - the result (after 12 days) is on the right.


You can also dry the perennial varieties. I’ve dried Rudbeckia triloba (brown-eyed Susan) which I hang upside-down. The flowers provide long-stemmed, dainty pops of colour for dried arrangements.
I really love how yellow Rudbeckia flowers hold onto their vibrant colour and how they help white and purple dried flowers really stand out in dried desigs. What do you think - will you give drying Rudbeckia a try?